Building a Homelab From Scratch
In the summer of 2024, I became engrossed in reading about self-hosted services on r/selfhosted. I was amazed that open-source projects like Immich and Ollama were so intuitive to use and well-designed even compared to big corporate products like Google Photos, etc.
I decided to build a server and deploy various open-source projects that would be useful to my family and I. Coincidentally, I was also working with Linux heavily at my internship at Ackcio at the same time, so this would also be a huge learning experience about Linux, hosting and infrastructure, as well as containerization. Having the server would also allow me a testbed to learn other software.
Over 2 months, I put together the specs, built the hardware, then deployed the software. This blog is currently running on the server!
Hardware Requirements
I began by setting out requirements for my server: what I wanted to use it for and what hardware and software would be required. Here’s a brief overview of what I came up with:
- Host Immich
- Robustness and availability must be high for family to use Immich
- Need for ZFS redundancy and backups
- Host Jellyfin and *arr stack
- Minimum 6TB needed
- Hardware encoding/decoding required
- Host a blog!
- Enough headroom to host random things in the future
- RAM: Try with a 16GB DIMM first, with a free second DIMM slot
- CPU: ≥ 4 cores, somewhat modern
- PCIe lanes
- Optional: Replace my TP-Link router and firewall with a solution like OPNSense or pfSense
- Fast networking and many ports required.
I narrowed down my motherboard / CPU platform search to “franken” motherboards from AliExpress due to their rich feature to price ratio. These boards, some with CPUs, feature multiple 2.5Gb interfaces and many SATA ports. I finally settled on a not-so-franken board that uses a Intel B760 chipset and takes a standard Intel 12th-14th Gen CPU. Here are the standout features:
- 8x onboard SATA ports, which will allow me to expand my HDD array in the future.
- 2x NVMe slots: 1x Gen4 x4, 1x Gen3 x4. Room for a fast boot SSD and maybe a future scratch or cache SSD.
- 4x Intel 2.5Gb NICs. Fast networking!!!
- PCIe Gen4 x4 slot. Could be used for a GPU in the future to enable AV1 encode/decode.
To go with that, I bought the cheapest CPU that fits in the socket: a Intel i3 12100. It has the Intel QuickSync media engine so critical for encoding / decoding, but is likely “too powerful” with its 4x Alder Lake P-cores.
I also bought 3x 4TB Seagate Ironwolf NAS drives to use a RAIDZ1 array, which would give me 8TB of usable space now and room for more later. I will spare you the huge conundrum that is designing the RAIDZ array. I will say it was an incredible journey learning about modern Copy-On-Write filesystems and redundancy.
OS & Software
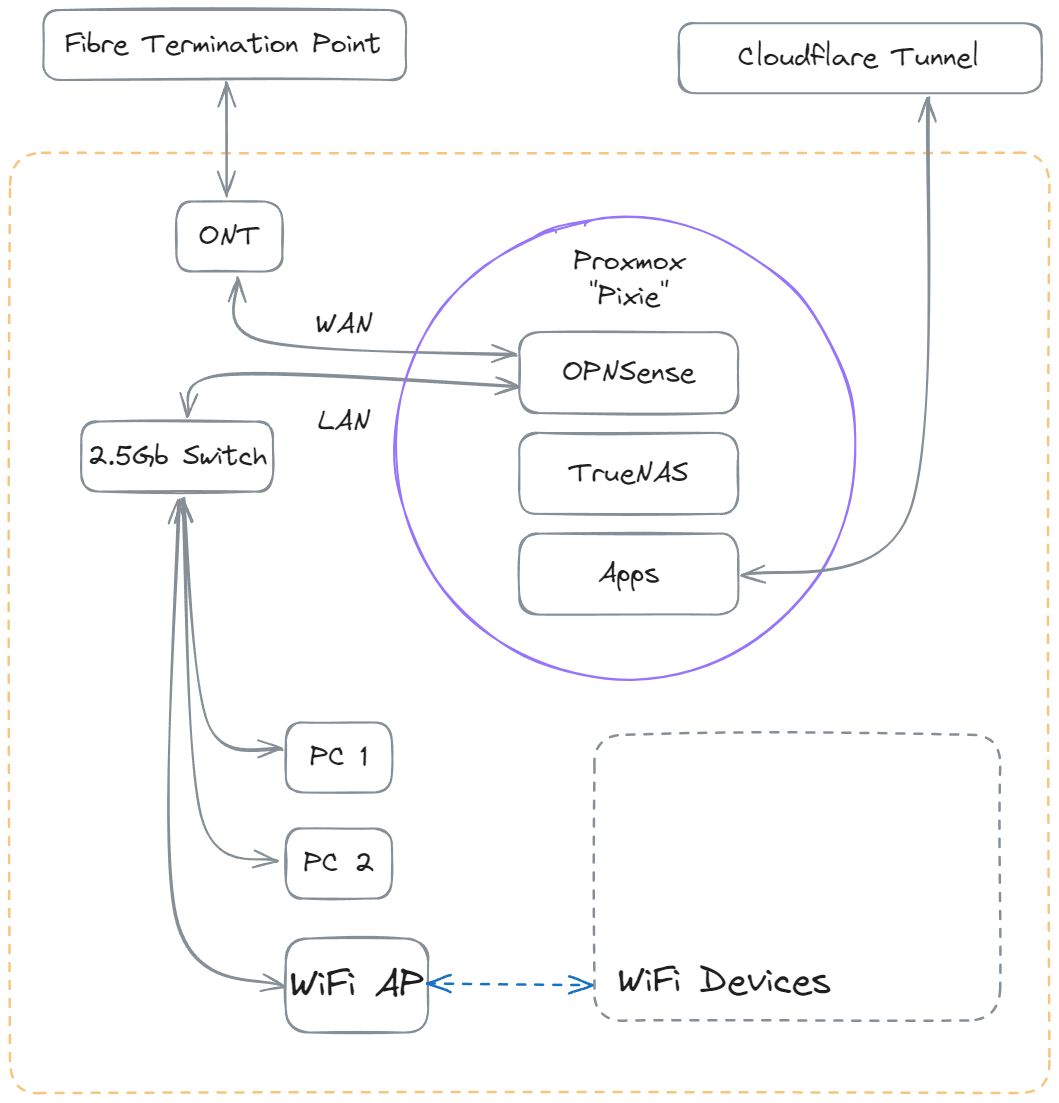
With its ever increasing popularity and community, I went with Proxmox VE as the the host OS. Everything else is virtualized on Proxmox. First is TrueNAS, to manage the HDDs in a RAIDZ array. For networking, I deployed OPNSense to be a router and firewall for my home network, and Tailscale to be able to remotely manage the system.
For the initial suite of software, I deployed the following:
- Immich on Docker: for photos
- Seafile on Docker: for documents
- Jellyfin in a LXC: for media streaming
- cloudflared in a LXC: For serving my services to the Internet via Cloudflare Tunnels
Learning
In all, I spent $1200 on the hardware for the server, and the primary return so far has been the incredible amount I have learnt about networking, Linux, virtualization and open-source. The self-hosted services will of course always be useful and provide a source of motivation to keep deploying more and maintain the server.
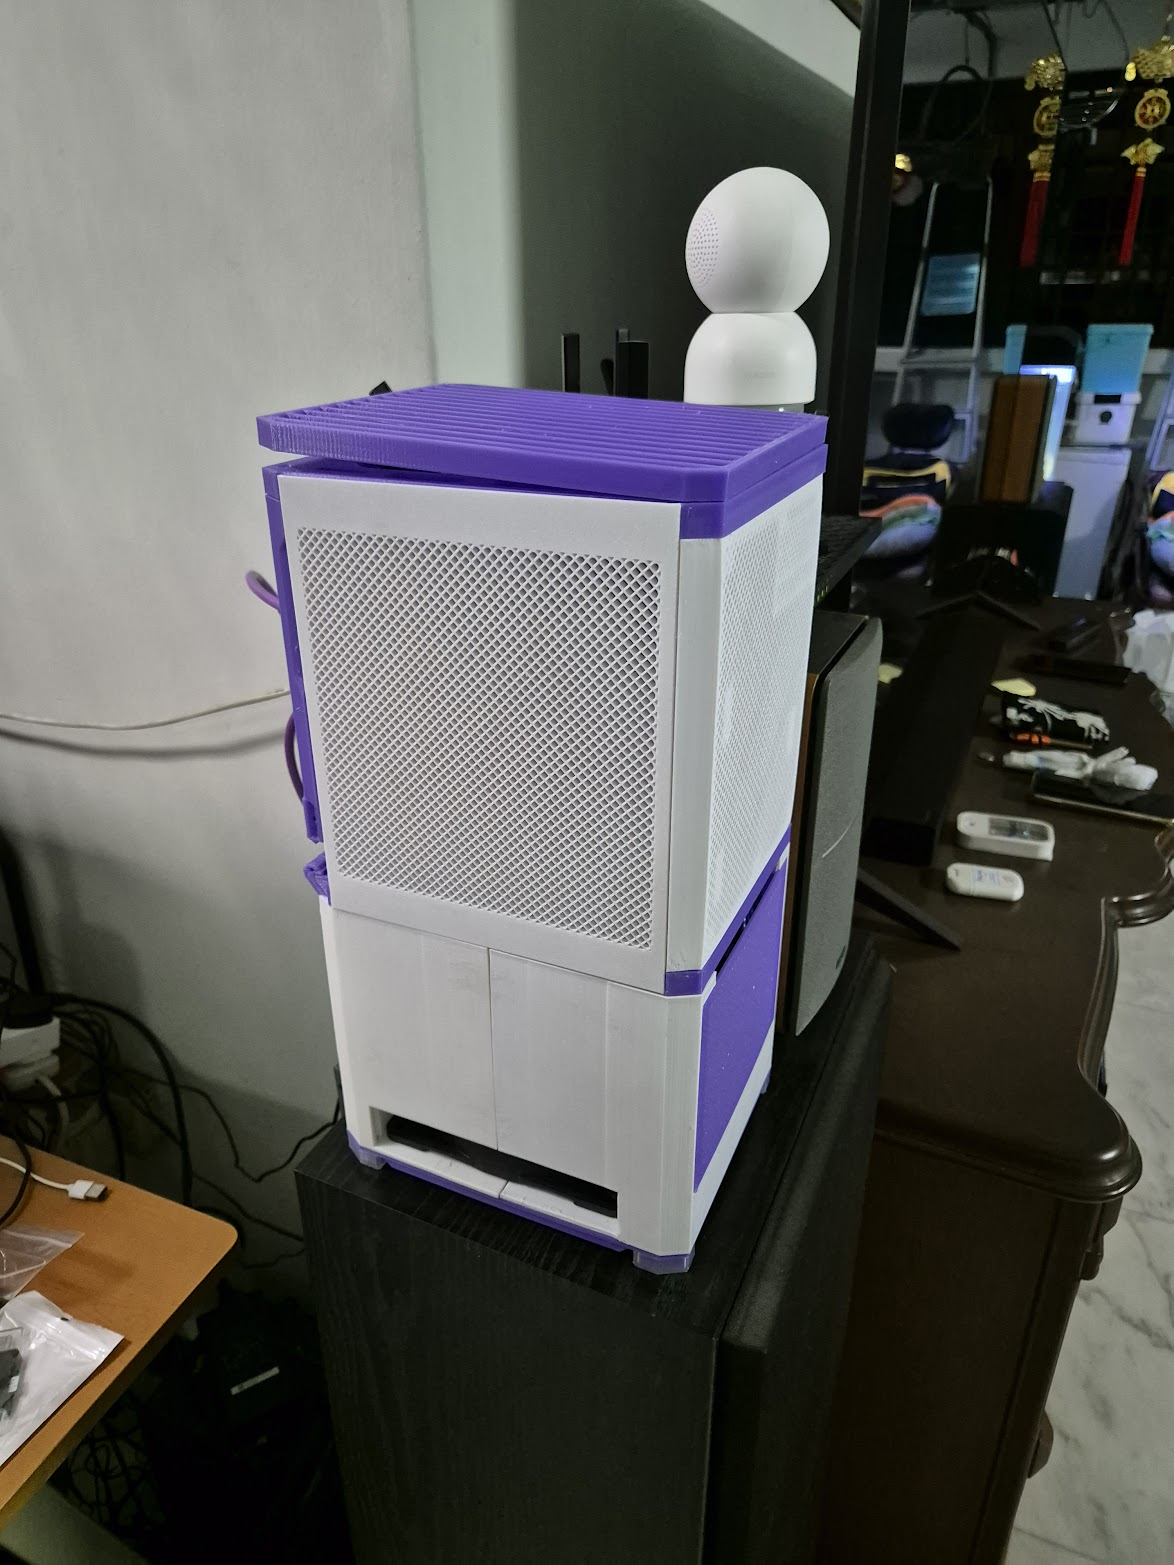
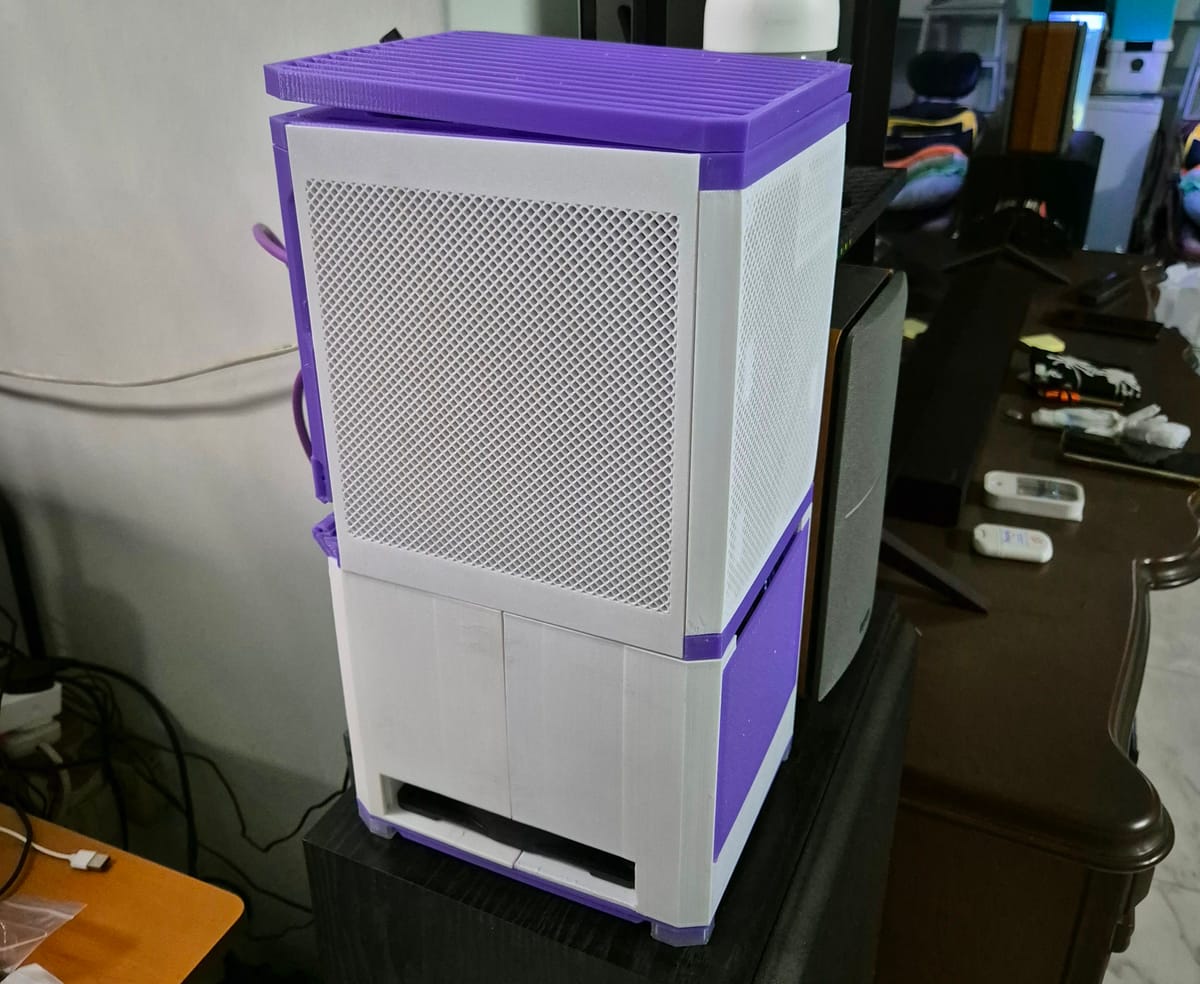
Oh and of course I 3D printed the case